Baking cakes and tarts isn’t exactly my passion. But making dog cookies yourself is a joy. …
Make your own dog cookies
Baking cakes and tarts isn’t exactly my passion. But making dog cookies yourself is a joy. Even if the result doesn’t exactly win any beauty prizes, dogs are loyal and grateful customers. Today’s recipe uses bananas (preferably ripe), carrots, oatmeal, spelt flour, and peanut oil. Pumpkin or olive oil can also be used. Sunflower oil is generally not recommended. To do something good for your dog, you should definitely pay attention to the quality of the oil. The complete recipe is available for free download as a PDF at the bottom of the page.

Dog biscuits with banana and carrot
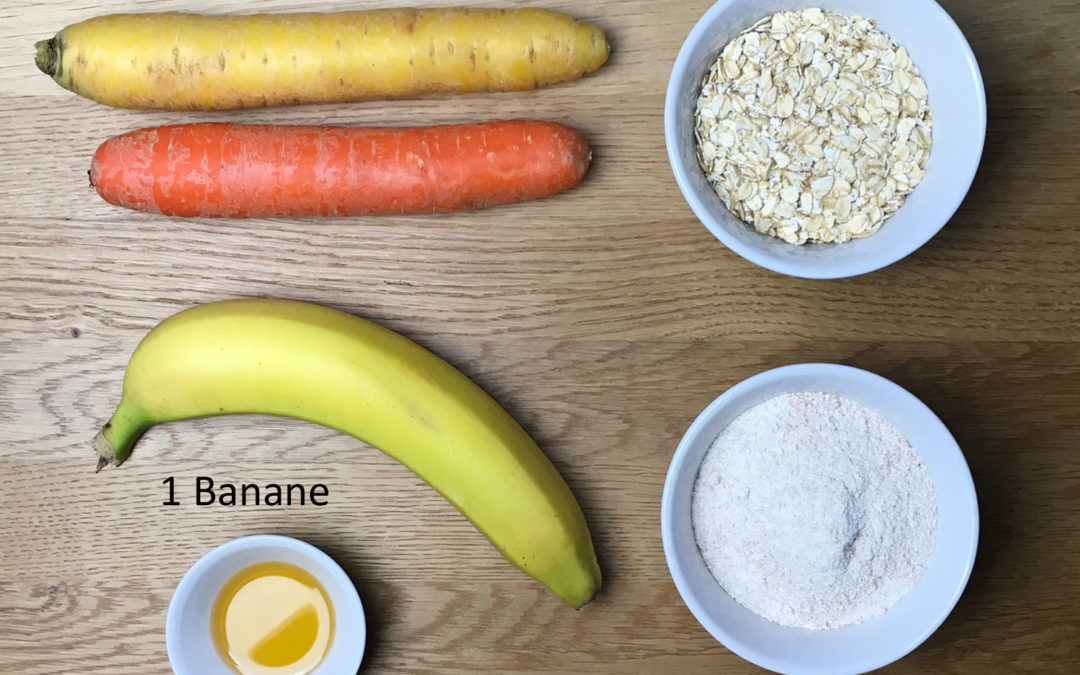
Ingredients:
- 2 Carrots
Carrots aren’t just incredibly healthy for dogs; they’re loved by almost every four-legged friend. They have a positive effect on the dog’s digestive tract, and even sensitive animals tolerate them well. The pectins contained in carrots act as a protective layer in the stomach and intestines. They have an antibacterial effect and can even help with diarrhea. - 1 Banana
Bananas are very healthy for dogs. Their nutrients are particularly well absorbed by your four-legged friend when the fruit is pureed for dog cookies. Bananas have anti-inflammatory properties and are therefore good for the stomach lining. They provide plenty of vitamins, minerals, and trace elements. The B vitamins, phosphorus, selenium, potassium, and magnesium are particularly noteworthy, as are their pantothenic and folic acid content. The fruit provides quick energy but is best fed overripe. - 200 g Wholemeal spelt flour
Spelt is highly recommended for dogs and other animals because of its digestibility. Due to its resistance to pesticides, it can be grown almost entirely without insecticides and pesticides, thus containing far fewer environmental toxins. It is rich in vegetable protein, iron, magnesium, phosphorus, and vitamins B and E. - 100 g Oatmeal
Oats contain more easily digestible protein than any other grain. With approximately 80% unsaturated fatty acids, oat flakes contain a high fat content. - 50 ml Sesame oil
Sesame oil is a real insider tip for dog cookies. It’s plant-based, making it particularly well-tolerated and having a positive effect on blood lipid levels. However, its omega-6 content is quite high, so use it sparingly, as with dog treats. As with all oils, always make sure they are cold-pressed and unrefined. Of course, an organic product is much better suited to supplementing food. Proper storage of oils is also important. To protect all ingredients, the oil should be kept in a dark bottle and refrigerated.
Preparation:
- Mash the banana with a fork.
- Finely grate the two carrots.
- Mix all ingredients until smooth.
- Roll out the dough on a floured surface to a thickness of about 1 cm.
- Either cut out small shapes using cookie cutters or cut the dough into 1 cm squares.
- Place the dough pieces on the baking sheet and bake at 180°C for about 25 minutes.
Important: Be sure to let it dry for a long time and store it in an air-permeable container.

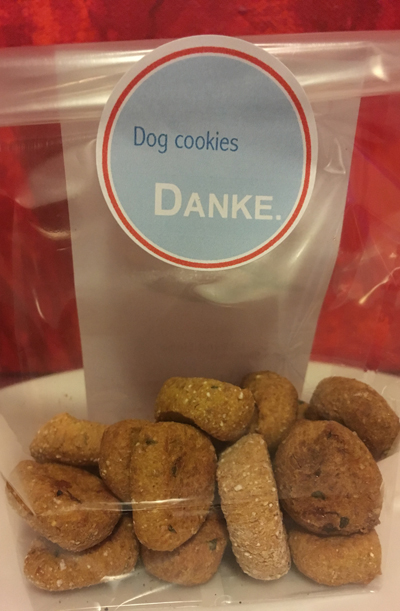
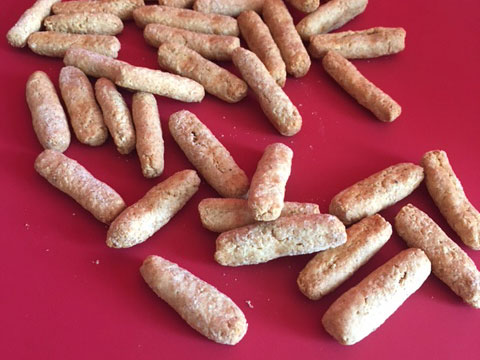
The dog cookies are finished baking.
Make your own dog cookies
Bake your own dog biscuits
Your four-legged friend will love these healthy dog biscuits. Since you prepare all the ingredients yourself, you know exactly what’s in the biscuits and what your dog is consuming. …
Great recipe for dog cookies & dog treats
Baking dog biscuits yourself is not a big effort. …


Recent Comments